

Tomato Pie with Artichoke and Bacon
Since I was a little girl helping my mother with the family vegetable garden, tomatoes have been my all time favorite vegetable (actually they’re a fruit). I remember plucking those tender, warm, sweet cherry tomatoes off the vine and popping more into my mouth than the gathering basket. Summer meals always included freshly sliced tomatoes. Morning, noon and night. All of this obsessive tomato eating left me with canker sores inside my mouth. I suppose it was the overdose of tomato acid that was ever present in that young child’s mouth. But the pleasure that I experienced from growing, harvesting and eating tomatoes was worth the pain of a few canker sores.
As I grew into my own way of gardening and cooking I found loads of ways to enjoy my favorite vegetable. From the classic Italian Caprese Salad, to homemade salsa, to Mediterranean salads bursting with tomato, cucumber, onion, olives and feta cheese, to homemade tomato sauce for pasta and ending with a perfect slice of heirloom tomato sprinkled with sea salt.
This year my raised bed garden is bursting with a bumper crop of tomatoes. My varieties this year are Supersweet 100s, Yellow Pear, Romas, Better Boys, Pink Girl, Lemon Boy, Celebrity and my personal heirloom favorite, Black Krim. A few of my tricks for producing amazing tomatoes are starting with really rich soil. My raised beds are filled with 2/3rd garden soil and 1/3rd compost (Black Kow).
When planting, I fill the hole with a tablespoon or so of Epsom Salt and a small handful of crushed egg shells. All throughout the winter I store used egg shells in the freezer in a zip top bag. When planting season arrives, I crush them up and they’re ready to go.
After planting I make sure to prune my plants fairly heavily. Meaning I remove all of the stems above the ground at least 6 to 8 inches. You do not want any tomato leaves coming in contact with the ground…that’s how disease and pests often enter the plant. I also remove suckers for the first month of the growing season (my gardening friends will know what this means). Finally I mulch them with straw and water them at least 2 times per week using a drip hose irrigation system. And of course the most important storage tip I can give is to NEVER refrigerate tomatoes…NEVER. It completely kills the flavor. Eat them before they go bad…or cook them up…maybe make a tomato pie?
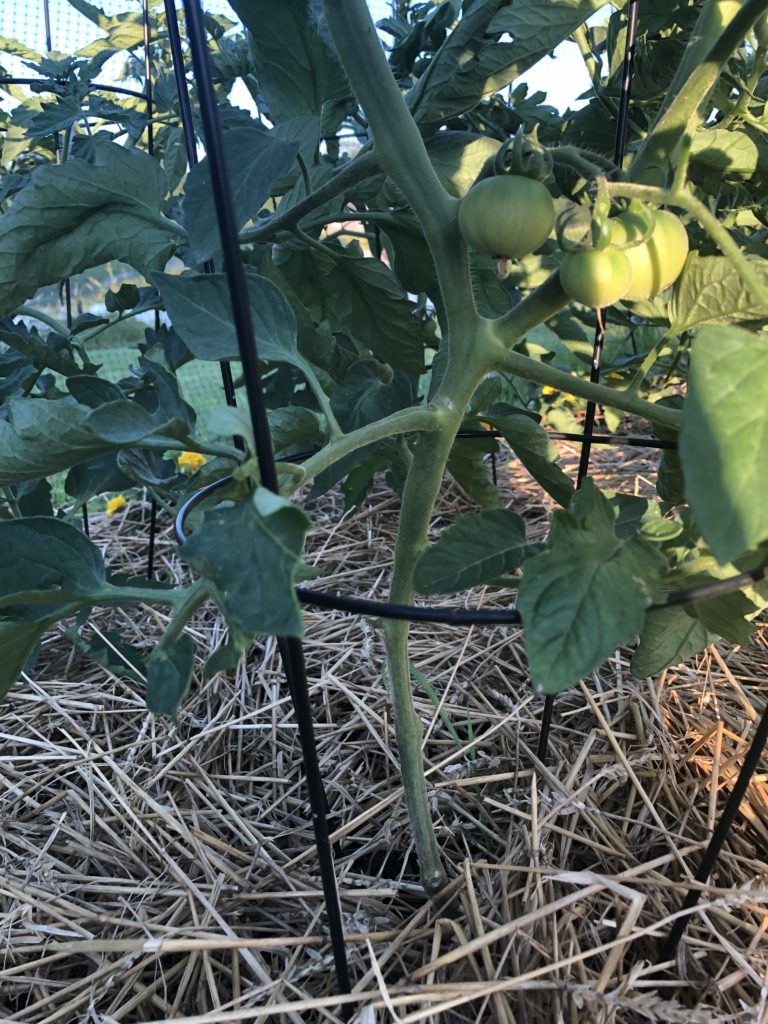
A healthy plant that has had all side stems removed up to at least 8 inches off the ground.

My modest raised bed garden early in the season. I cannot emphasize how important good soil is for producing excellent food. I am a huge fan of BLACK KOW compost.
But never fear…you do not need to have a raised bed garden or even a garden plot to grow perfect tomatoes. When we were newlyweds and lived in apartments I grew my garden in 5 gallon buckets. I just found an outdoor space on the patio that received at least 6-8 hours of sun. Tomatoes, peppers and herbs grow exceedingly well in pots. If this is too much work for some, then I hope you have access to a farmers market or are lucky enough to be friends with someone who grows their own and will share.
For tonight’s dinner I decided to create a new type of tomato pie that includes artichoke hearts. If you are a tomato lover and are from the South…you know about tomato pie. While I make my own, I will say that the tomato pie I ate at a little breakfast place on the Isle of Palms in South Carolina blew my mind. It was the perfect blend of tomato, herbs, cheese and crust. If you ever find yourself lucky enough to visit Charleston, South Carolina’s barrier islands you need to stop at the Sea Biscuit Cafe.
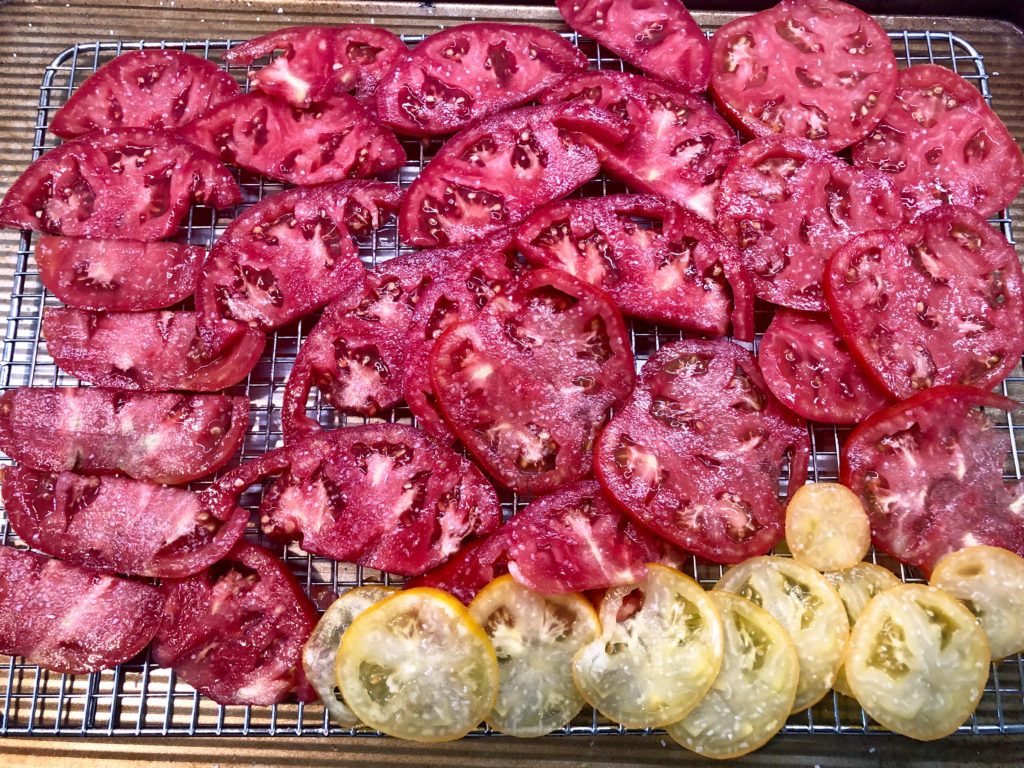
Thinly sliced, lightly salted tomato slices need to rest for 30 minutes to remove excess water so your pie isn’t soggy.
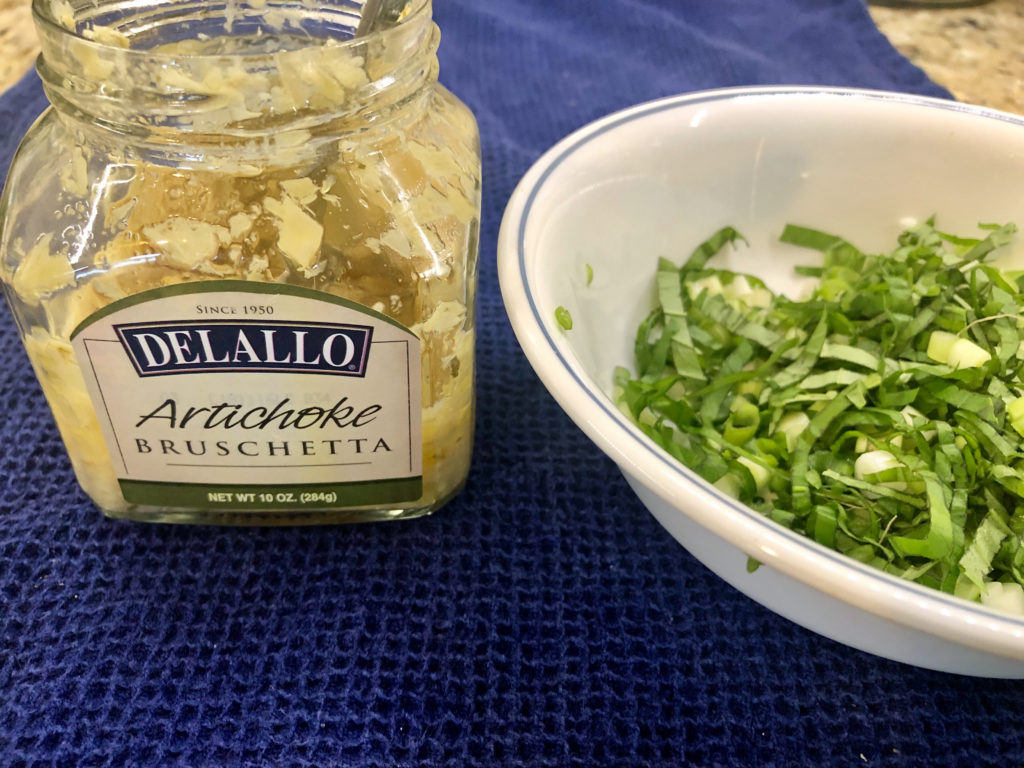
Fresh basil, green onion and my secret ingredient (Artichoke) make my pie different from most.
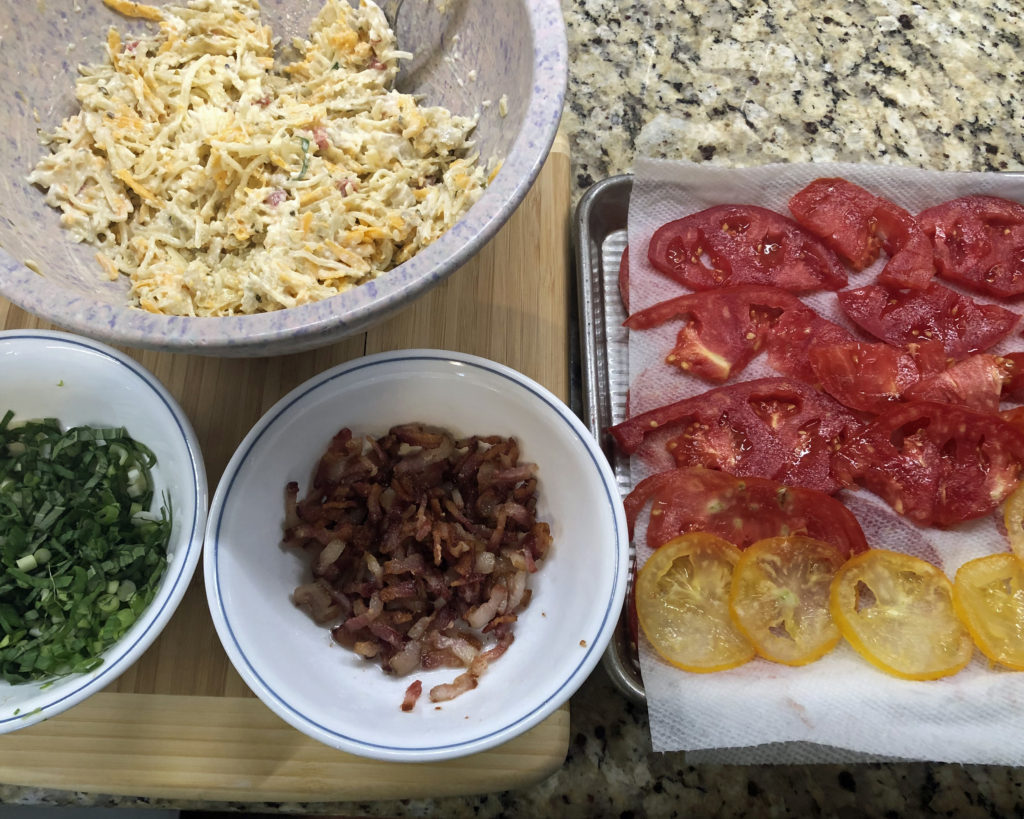
All the ingredients ready to layer into a partially cooked pie crust.
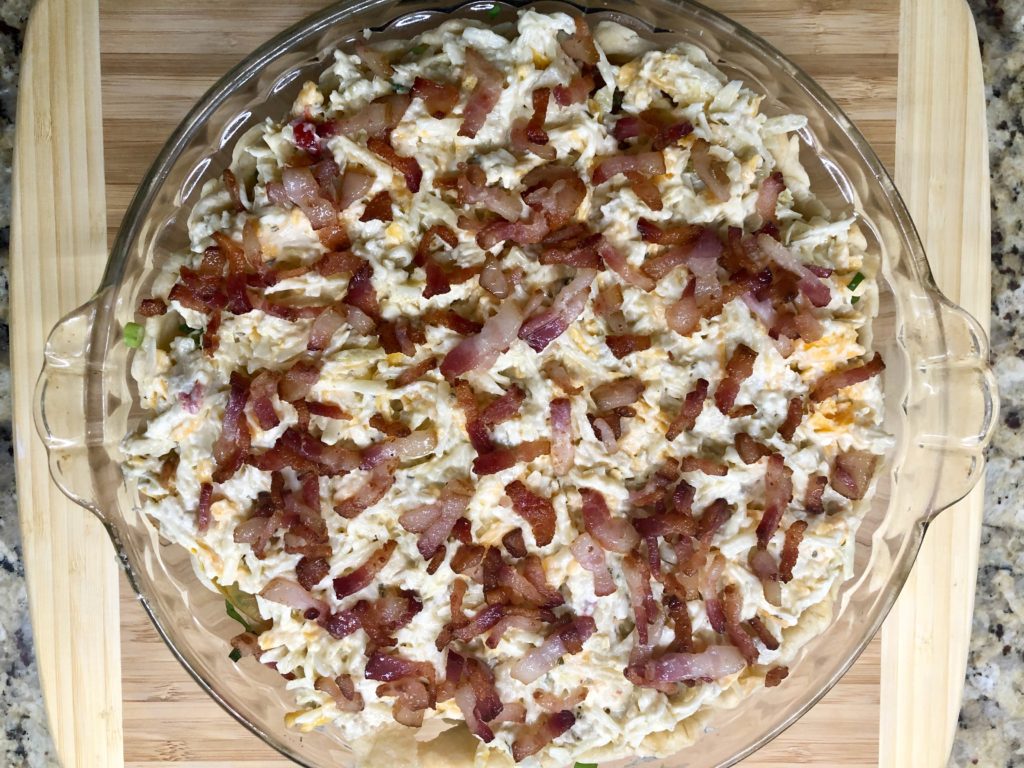
Prior to baking for 30 minutes at 350 degrees.

Fresh out of the oven. It must rest and cool for at least 30 minutes. Cutting it when it’s hot will end up with a wet, sloppy mess. Be patient letting it cool to just warm. Better yet let it cool to room temperature.
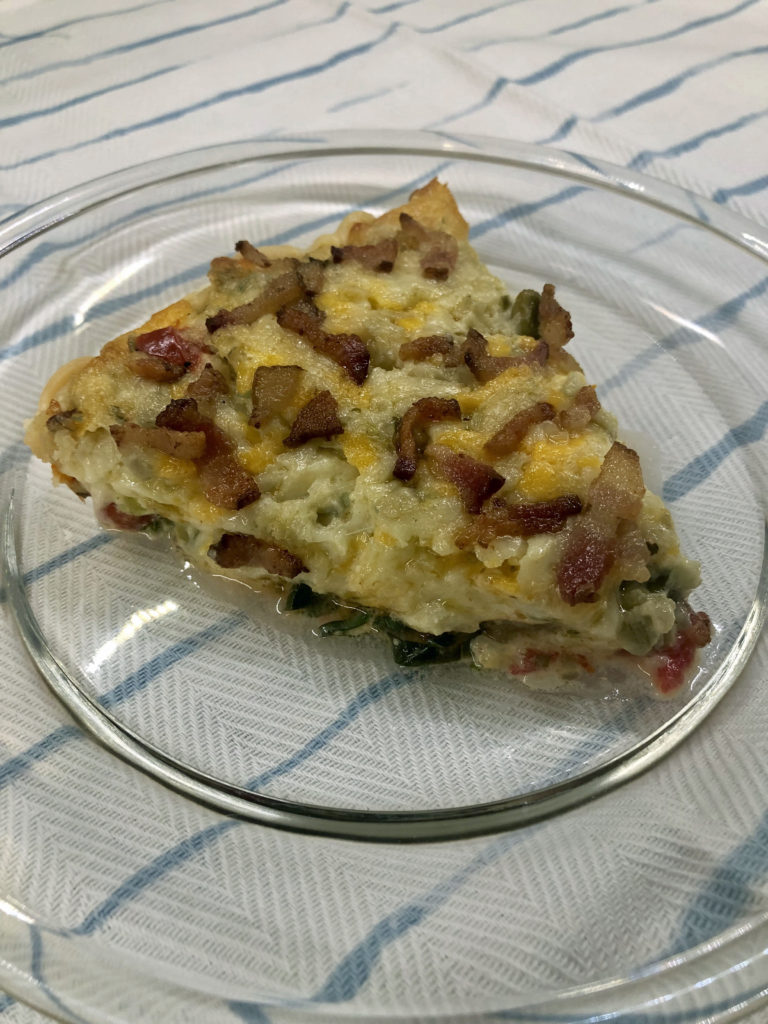
The perfect piece of pie.

Tomato Pie with Artichoke and Bacon
Ingredients
- 1 refrigerator pie crust
- 4 slices good quality bacon, cut into small pieces
- 2-3 pounds tomatoes, sliced thin
- 1 cup extra sharp cheddar, grated
- 1 cup mozzarella cheese, grated
- 1 cup parmigiano reggiano, grated
- 1 cup mayonnaise
- 1/2 cup artichoke bruschetta spread
- 1/2 cup fresh basil leaves, sliced thin
- 6 scallions, sliced thin
Instructions
- Preheat oven to 450
- Place refrigerator pie crust into glass deep dish pie plate
- Partially bake pie crust for 10-15 minutes in hot oven.
- Remove pie crust and let cool completely before filling
- Turn oven down to 350
- Place bacon into skillet and brown. Remove cooked bacon from skillet and reserve.
- Begin by slicing fresh tomatoes thin (1/4 inch). Place them atop a mesh screen that is on a jelly roll pan. Sprinkle with sea salt. Let them sit for at least 30 minutes to release their excess water. After 30 minutes use paper towels to blot up any excess moisture. This will result in a pie that is not watery.
- In a large bowl combine cheddar, mozzarella, parmigiano reggiano, mayonnaise and artichoke brushcetta spread.
- In a small bowl mix the fresh basil and scallions.
- Once the partially cooked pie crust has cooled it's time to assemble.
- Place one layer of tomatoes on bottom.
- Sprinkle half of the basil/scallion mixture on top.
- Place another layer of tomatoes in dish.
- Sprinkle remaining basil/scallion mixture on top.
- Spread cheese/mayo/artichoke mixture on top of pie. You may have to use a rubber spatula or your hands to completely cover.
- Sprinkle cooked bacon pieces on top.
- Bake pie in 350 oven for 30 minutes.
- Remove from oven and let cool for at least 30 minutes.
- Pie is best served slightly warm or at room temperature.


