
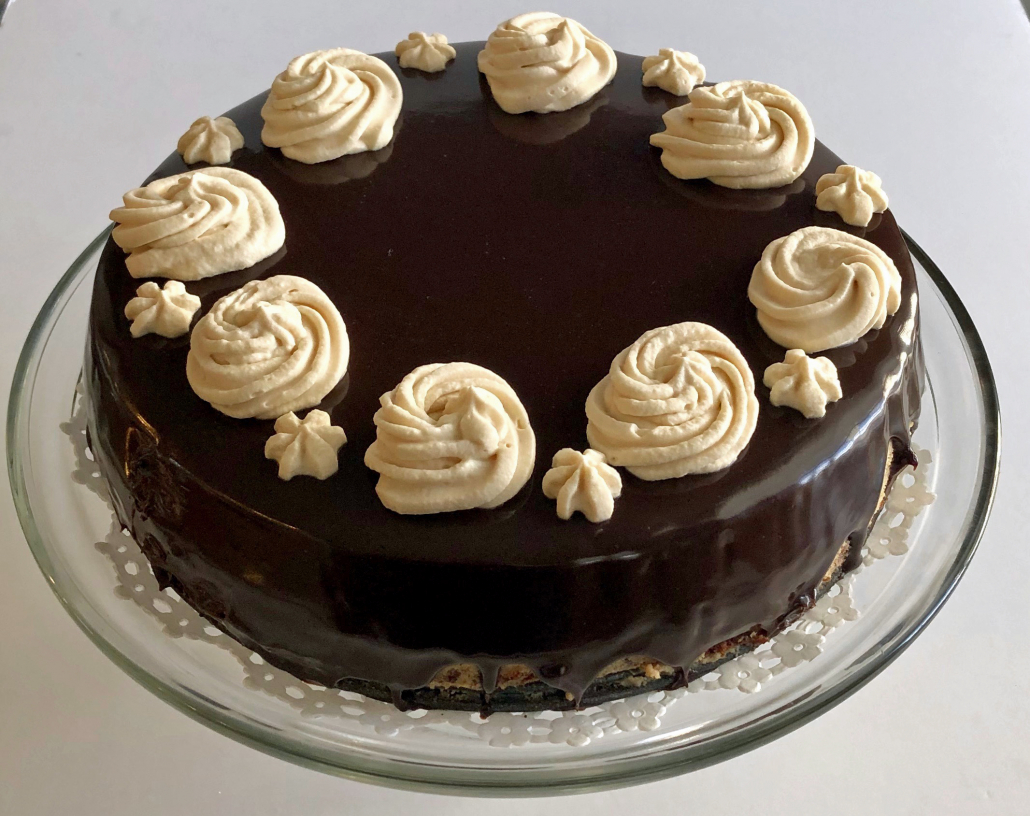
Kahlua Brownie Cheesecake
Two words – special occasion. Two words – two days. Yep…this show stopping dessert is one you’ll want to make to wow your guests. You’ll also need lots of patience and two days to complete the recipe. As with all authentic, New York – style cheesecakes, you need to make and bake the cake one day. Then give it at least 8 to 10 hours or overnight in the refrigerator to firm up.
So what was the special occasion? There wasn’t one…except for the fact that I am considering making this for a holiday dinner. I mean I can always bring the old pecan pie or pumpkin pie standbys. But if you’ve ever sat at our table during the holidays you should expect that I’ll add something a bit different and hopefully memorable. Like my red velvet cake/cheesecake .
I came across this recipe from a dessert food blog I enjoy : Life, Love and Sugar. This recipe wasn’t without its challenges. First of all you have to make 4 separate recipes. The brownie base. The Kahlua cheesecake filling. The Kahlua ganache topping. The Kahlua whipped cream.
Here’s where her original recipe gave me some challenges. First, she tells you to line a spring form pan with parchment paper and then grease the sides. In all my years of baking cheesecakes I’ve never lined the bottom of the pan with parchment. What’s the point? Then as you slice the cake you have to contend with the parchment…which is nearly impossible to remove in one giant piece after the cheesecake has baked and cooled over night. Her recipe never tells you when to remove the parchment. Oh well…I followed along anyhow.
Secondly, I followed her brownie base recipe to the letter. It made so much batter that I knew it would be too much once it baked. In other words it would rise so much that when I went to put the cheesecake mixture on top of it to bake, the ratios would be nearly equal (not at all what her pictures or video showed). I double checked her recipe and made sure I was using a 9 inch spring form pan. So that wasn’t the reason. But as I always do with baking something for the first time…I follow the recipe precisely.
As predicted when I removed the brownie base from the oven I knew it would be too thick. There was nothing to do but remove the ring around the pan and slice off part of the top to make it thinner. But I didn’t dare try to cut a hot pan of brownies. So I thought back to my favorite show The Great British Baking Show . I used their trick of putting a hot cake in the freezer to speed up the cooling process. After about 15 minutes in the freezer, I removed it, removed the spring form ring and went to slicing about 1/3 of the top of it off. This worked quite well. And no…I did not throw out that delicious brownie top. I enjoyed my mistake with a nice cup of coffee later.
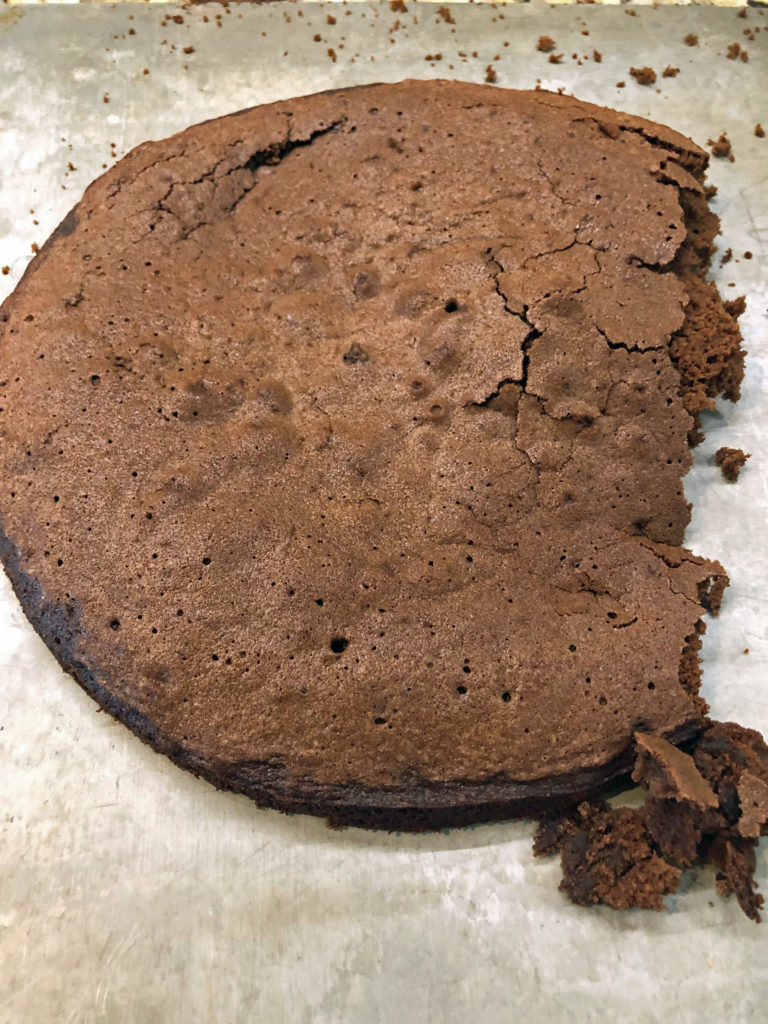
The top of the brownie layer that I removed. Yeah for baking “fail” snacks!
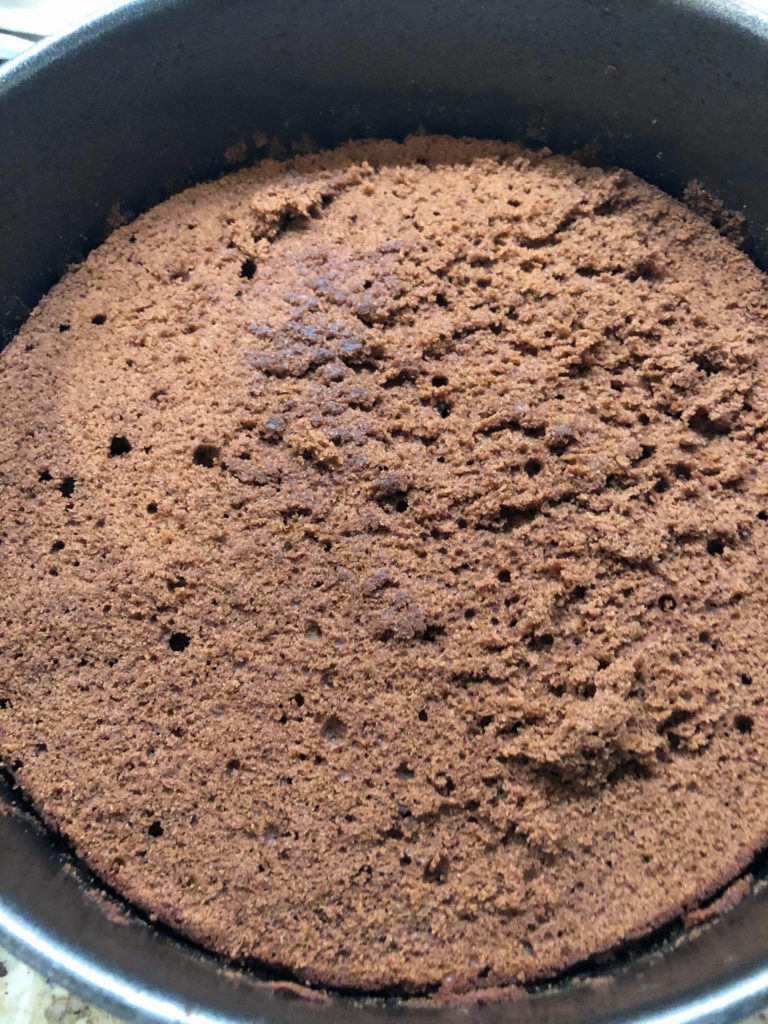
Now the brownie based that I cut was ready to receive the cheesecake batter.
So while the brownie base was baking, I went about creating the cream cheese batter. As with most cheesecakes, it’s important that your cream cheese, sour cream and eggs are room temperature before blending. Room temperature ingredients will give you a smooth, lump free batter. Also make sure you have your mixer set on low. You do not want to whip a lot of air into the batter. I also carefully drop/rap my pan on the counter a few times before placing it in the oven. This sometimes allows little air bubbles to release to the surface before baking. If your batter is full of air bubbles your cake will crack in the oven.
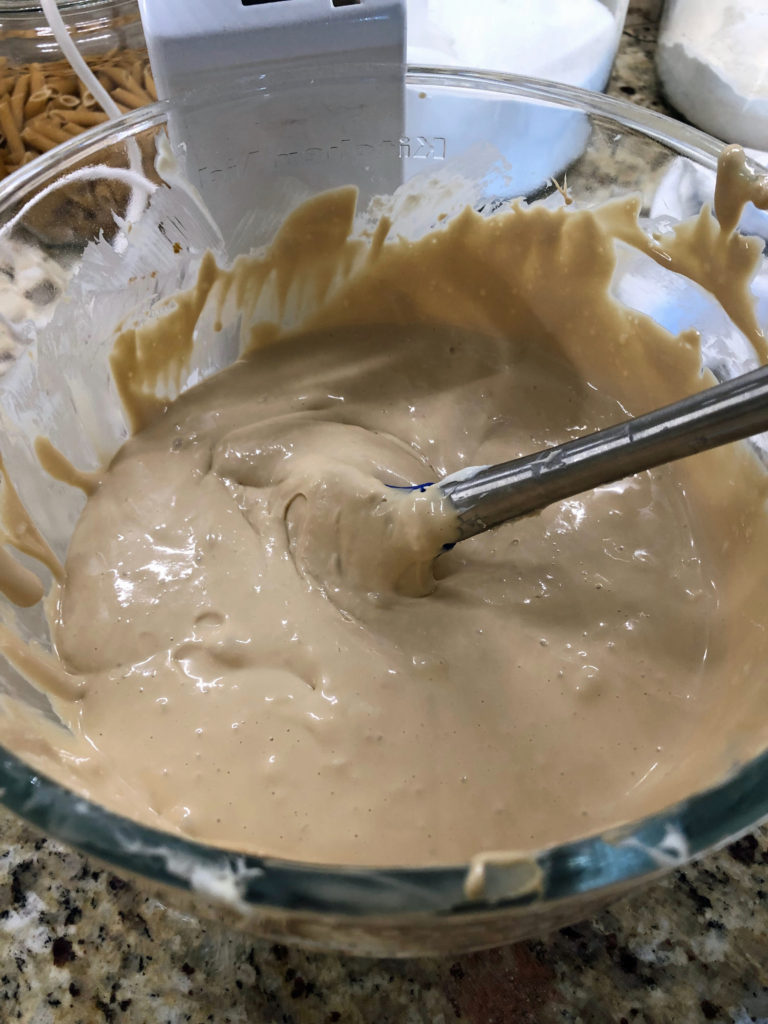
So creamy with a hint of coffee and Kahlua.
Time to pour the batter on top of the brownie base. Wrap the pan in foil. Put the round pan in a deep roasting pan so that you can add hot water around the edge. Do not skip using a water bath for baking things like cheesecakes, flan, custards, etc.
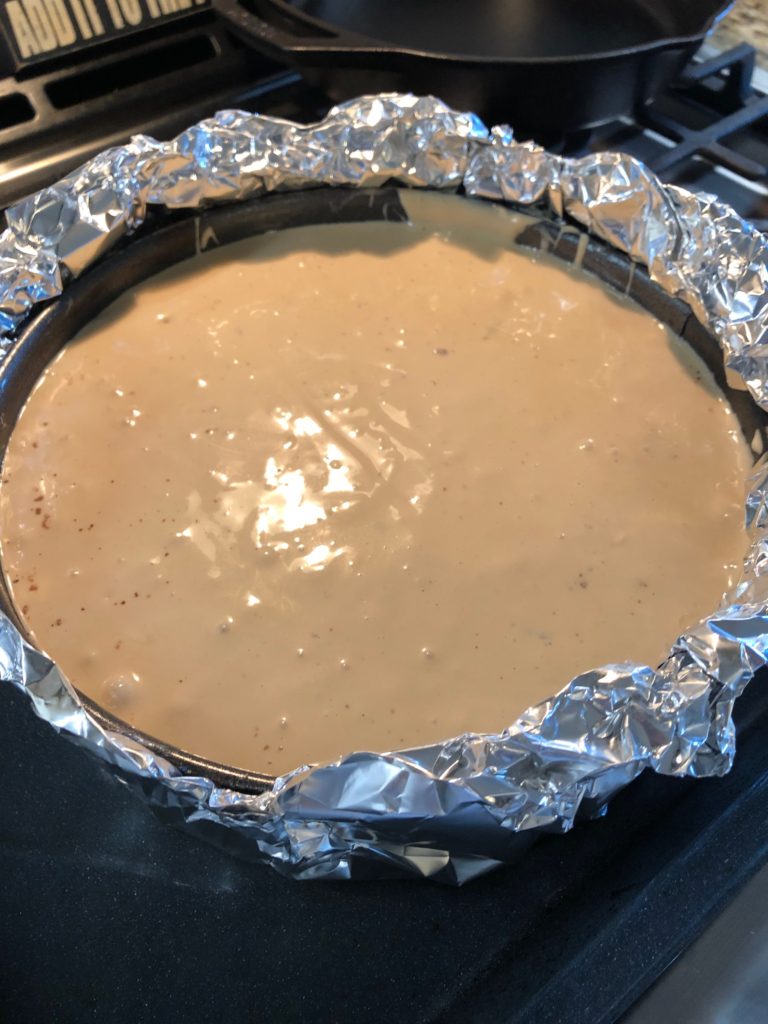
Ready for the oven. Low and slow helps prevent cracks from forming on the top.
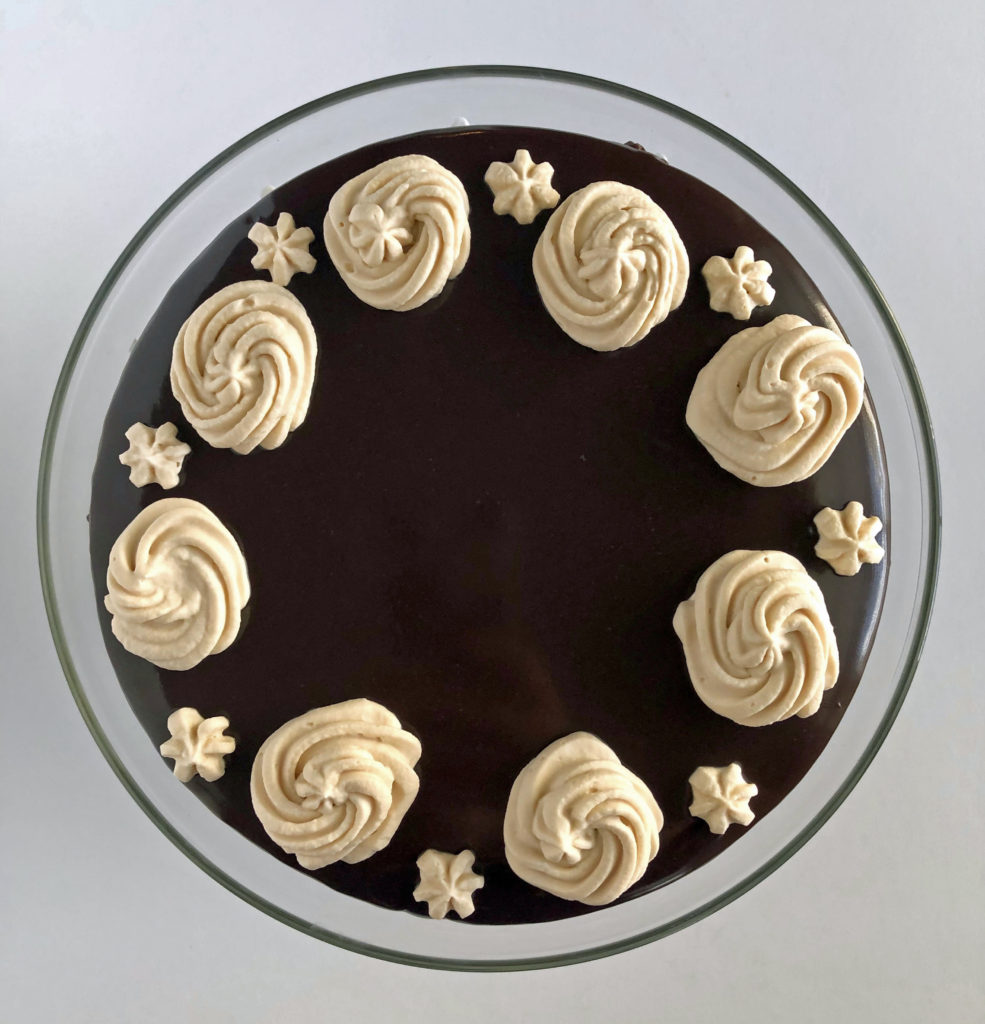
After the cheesecake has baked and cooled properly (read her instructions carefully), let it sit covered in the fridge overnight. The next morning you’ll be ready for the final steps… covering it with chocolate-Kahlua ganache and piping a bit of whipped cream on top.
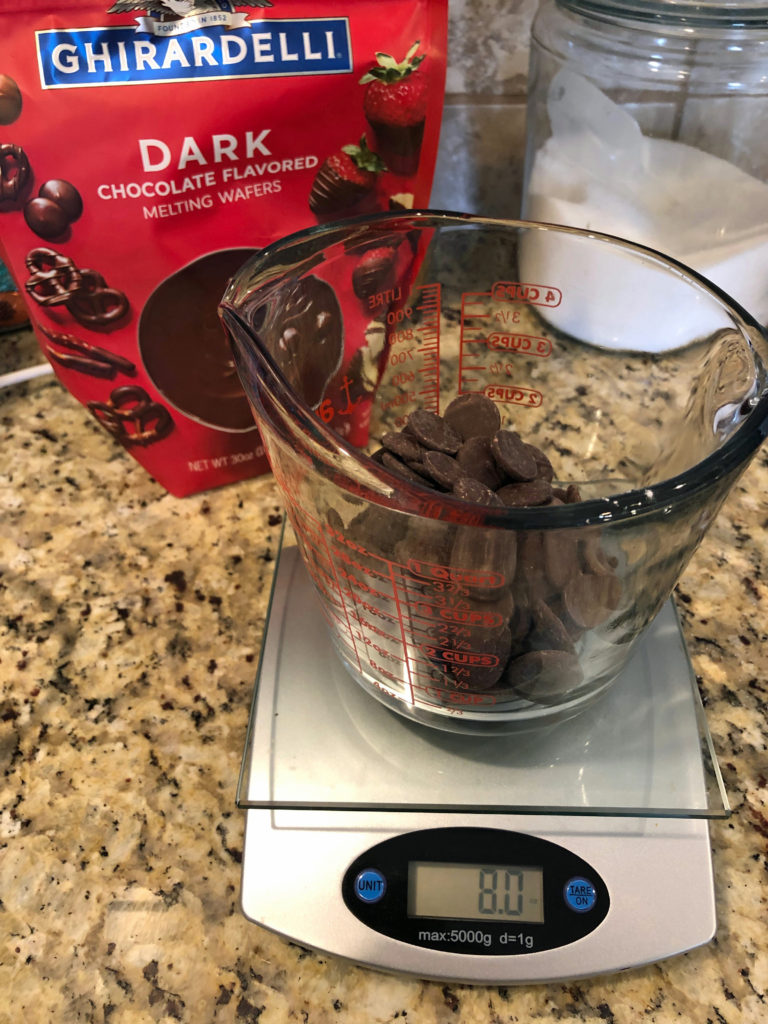
For those who bake very often, investing in a simple scale is worth every penny. Most expert bakers (not me, but trying to get better) weigh their ingredients rather than measure.
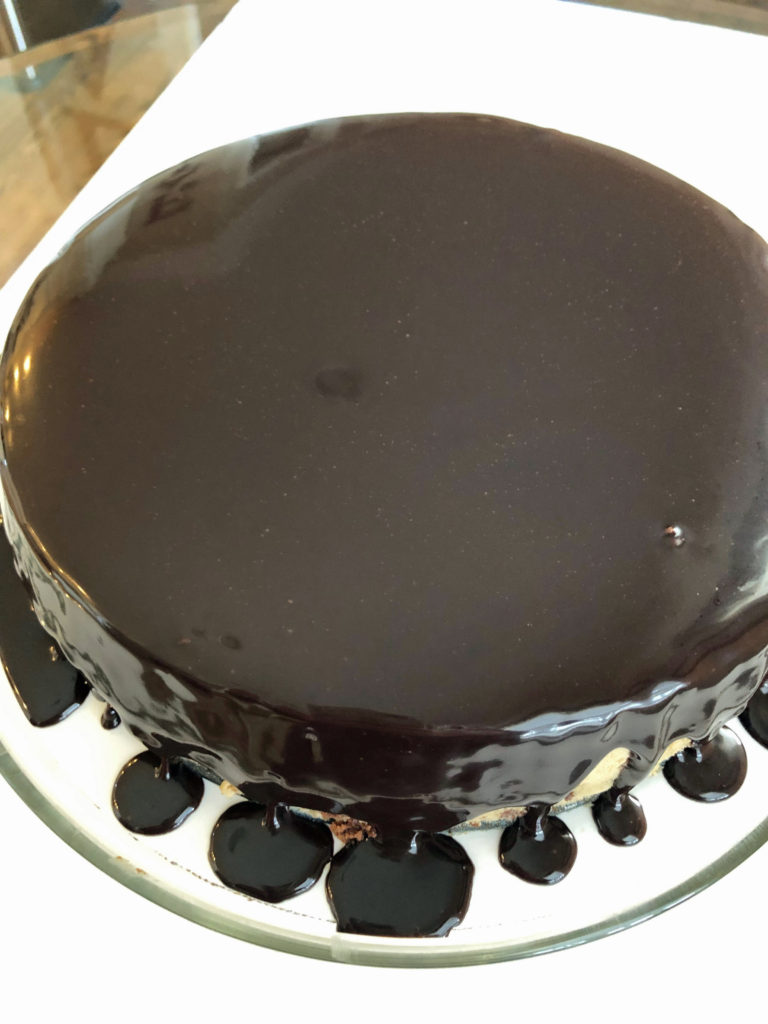
I should have let the ganache cool down even more. Because it was a bit warm, it ended up dripping down the sides of the cake…which was not the worse thing in the world.
Would I make it again? Yes. Did I learn some things from my first go? Yes. What I’ll do differently? Eliminate her idea of using parchment paper on the bottom of the spring form pan. Not add all of the brownie batter to the base. Let my melted ganache cool down a bit more before pouring it on top of the cake. Lastly, I will reduce the amount of Kahlua in the whipped cream. I think it made it difficult for the whipped cream to fully set up to firm peaks.
I hope this non traditional style of dessert will make it to your holiday dinner table this season.
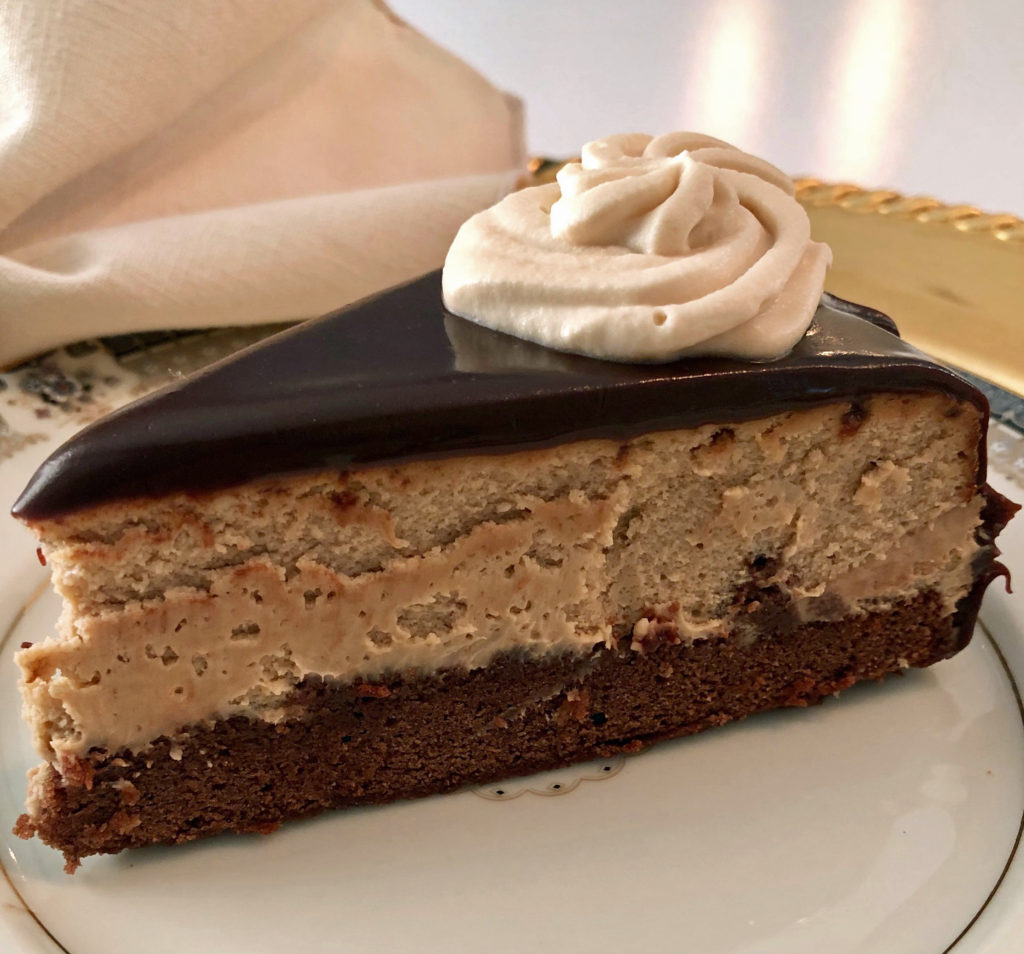
A sweet slice of heaven.


